I’ve been a bit behind keeping the blog up to date. Apart from a couple of one hour windows where I was able to stick the TMB through the conservatory door and do a little manualy navigated observing, those clear crisp clear nights of early Spring, have been few and far between.
As I mentioned in my last post, I have a new toy, or more precisely, my partner has, in Pentax’s O-GPS1. Primarily the O-GPS1 adds location data to the EXIF files when images are taken. But with an added fluxgate compass and and electronic level, the software is able – after calibration – to know where it is, in what direction and elevation it’s pointing in. With this data the software is able to calculate how fast and in what direction the stars it’s looking at, are moving and tilts the CCD chip to track them. The movable CCD is part of Pentax’s shake reduction system. Unlike Nikon and Canon, they decided to do that in the camera body rather than the lenses. This means the camera can be mounted on a normal tripod and still take exposures far longer than would otherwise be possible. For someone wanting to start astrophotography, you don’t have to go to the expense of a driven equatorial mount and still get reasonable wide field images of the night sky.
We’ve had three sessions outside and have experimented with various lenses, ISO settings and exposure times. Here are the results.

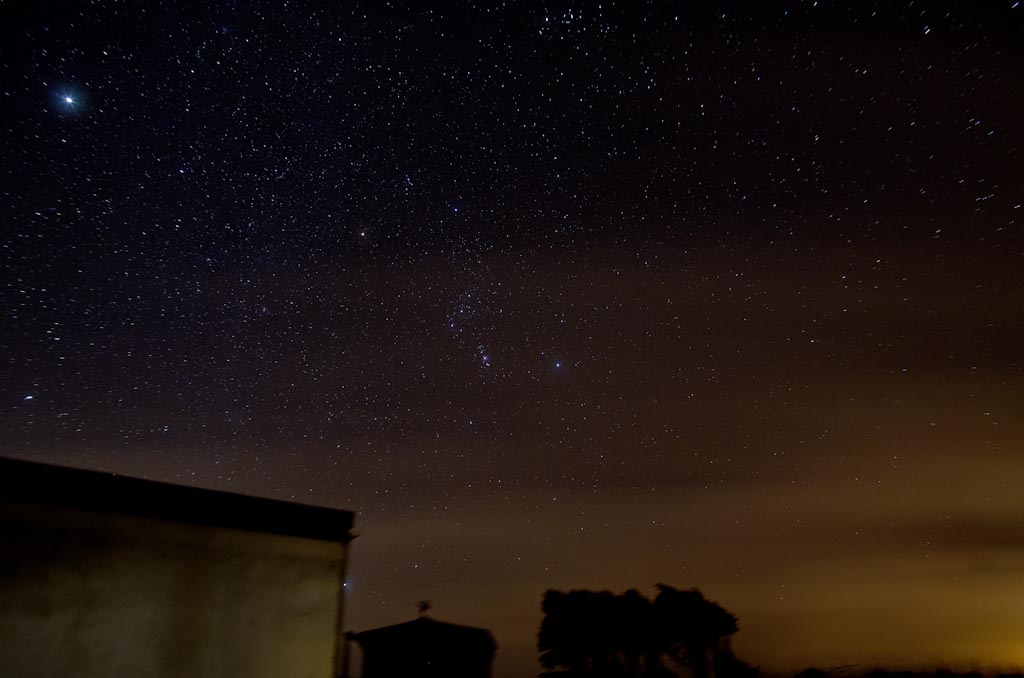
The first was on the 19, January. We fitted the camera with a 16-45mm f/4 zoom, set at 16mm. The ISO was set to 800, the aperture f/5 and an exposure time of 3 minutes. These settings provide lots of data, but on zooming it it’s quite clear to see that the lens shows considerable distortion with all the stars towards the outer edge all elongating towards the centre. The exposure time could be increased even further with this set up as no star trailing is yet evident. This image was the best of a number of single frames we took. No stacking was done or dark frames taken.

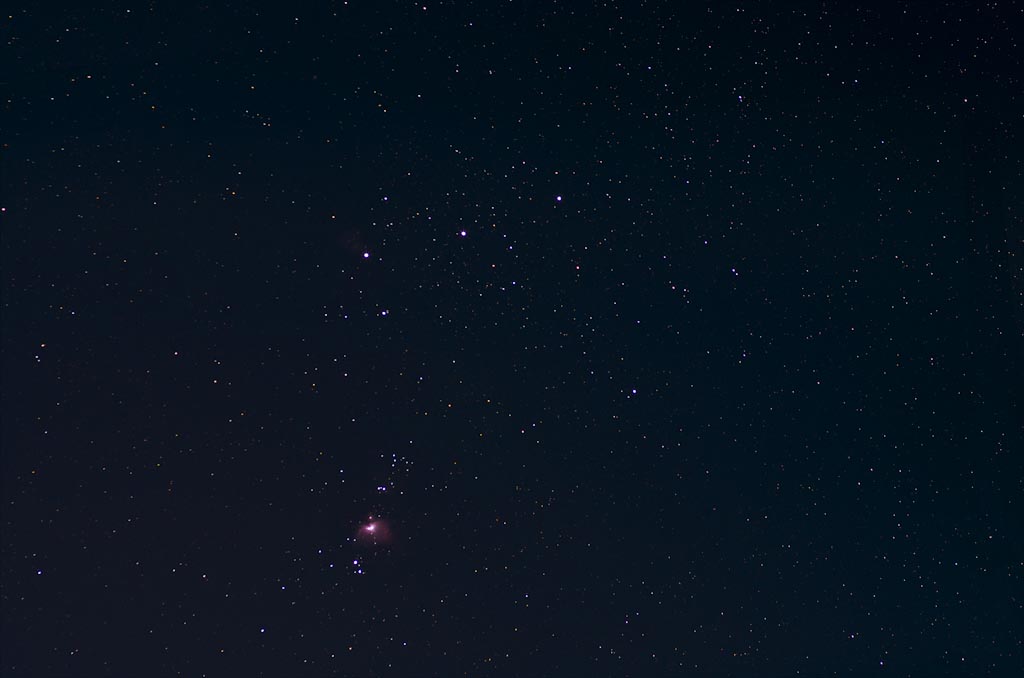
The second session on the 15, February, we changed to a 100mm f/2.8 but left the ISO and aperture settings at 800 and f/5. At 3 minutes, star trailing was quite obvious and with a bit of experimentation we found that 60 seconds was all we could get before trailing occured. An increase in focal length reduces the effective exposure time you can use before the CCD runs out of movement. This image was the combination of six exposures with three dark frame subtractions. At 60 seconds the chip is just not getting enough data with the result that a lot of the fainter background stars are not being recorded.

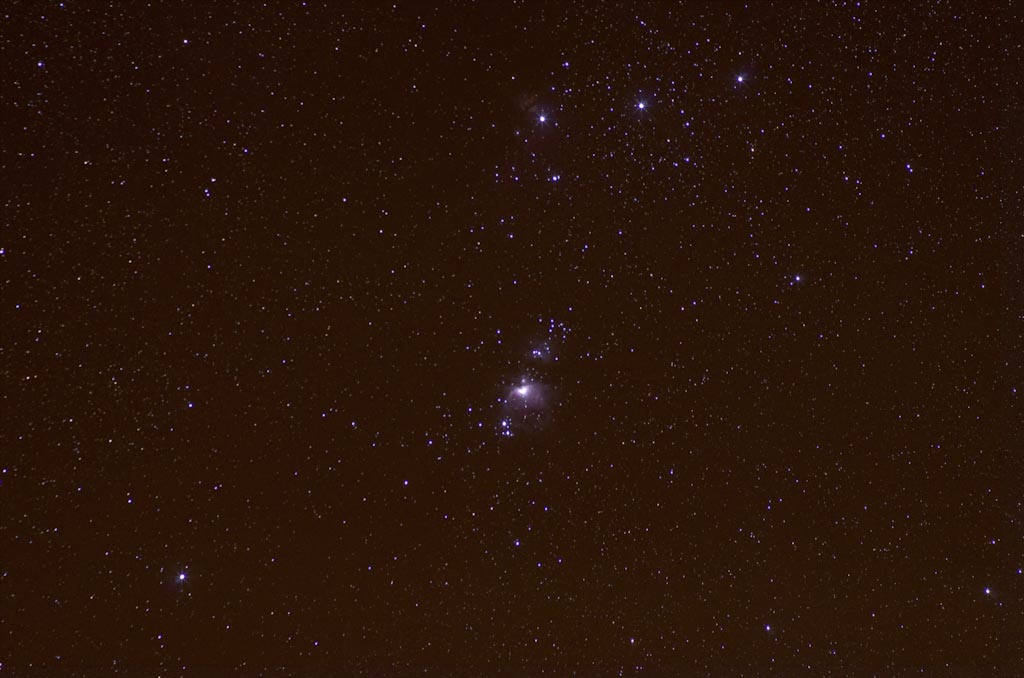
The last session was on the 23, March. We kept the 100m lens and the aperture set at f/5 , but turned up the ISO to 1600. With an exposure time of 70 seconds, the increase in data is quite noticeable. There is a small amount of trailing, so backing off the exposure to 60 secs and taking multiple light and dark frames, should provide the best combination for this setup. While the core of M42 is blown, the outer edges of the nebula are showing good structure and colour. You’ll also notice nebulosity of the Flame nebula around Alnitak just starting to come through, which bodes well for much longer exposures 🙂
The increase in ISO between the second and third images show no noticeable increase in noise that a little smoothing hasn’t coped with. The next stage is to mount the camera on the Losmandy mount and see what results I get with unguided exposures of two to three mins. One thing I did notice is that both these lenses when focused at the mechanical hard stop at infinity, actually provide a sharp focus point. That’s unlike the Sigma 17-70 zoom on my Nikon where the hard stop at infinity, goes beyond the point of perfect focus. A right pain!
We are really looking forward to constructing a multiple frame mosaic of the the whole Milky Way, without all the faffing around with a GEM mount and guiding, more associated with normal astrophotography methods.